fbpx

How to Edit Black and White Images with Luminosity Masks

Color preparation is the most important thing when working on a Black & White conversion. If you use photoshop or any good image editing software, the first thing you see is a window with color sliders. If you want to darken a sky, increase the blues, if you want to whiten foliage, work on the yellows, reds and greens. You will see drastic changes in your image tonality. But sometimes, you want to work on specific color zones of the image, this is when masking comes into place. Luminosity masking is without a doubt the best way to precisely target colors. In this movie by Greg Benz, the creator of Lumenzia luminosity masking panel, you will see how he targets specific zones and works on the mood of an image.

Lumenzia by Greg Benz

One of the best luminosity masking panels for Photoshop. Visit the website and learn more about this great tool for both Black & White and Color images.

The Art of Black & White

Harold Davis gave a few conferences about the Art of Black and White for B&H. Here are two of our favorites in wich he discuuses the Art of Black and white photography in the digital era. A very interesting topic as except if you own a monochrome camera such as the Leica Monochrome, all the images you are making are in color. The process of converting to Black & White only comes during the processing workflow. In this video, you learn a lot about how to think and envision your images and how to process theimage with intent.

Creative Vision and Craft in Digital Photography

The second video goes more into the real way to create and craft your images. A real must watch for any Black & White photographer.

A vision in Fine Art Photography

Having a vision is an essential part in Fine Art Photography. This is what leads to a great image.
When you go out shooting, whatever your subject is, you must have your finished image in mind. When you so portraits, you prepare your lighting, choose the right lens and angle, and then you start shooting. When you shoot landscapes, cityscapres or architecture, you first work on your composition to find the right elements, than you decide if you want a long or very long exposure, a color or black and white image. In any case your vision is the key to success.

Here is a great video to discuss this topic and handcratft a great Black & White image.. Enjoy and feel free to leave any comments about your own experience.

ADP V2 Luminosity Masks Panel

ADP panel+Pro v2 by Aaron Dowling

This is a very intuitive and easy to use panel. The look is very clean and it is divided in three different tabs. The first one is for creating and tweaking the muminosity masks. You can restrict or expand the masks and create selections you can then apply with a brush, instantly create curves layers and even create masks based on color range. The second tab is for adjusting precisely your selections and the third tab is to control some of the most used Photoshop functionalities.

I was pleasantly surprised by this panel, and I can highly recommend to users of all skill levels. The panel is not quite as powerful as the TK Panel, but it will make it for most of us photographers. Aaron is constantly making new excellent training material you can find on his website not only for Luminosity masking but also on how to use his panel as a basic work flow tool..
I have read on another website a great tip to make the panel work much fasteby, keeping the properties window closed. As the panel runs through a bunch of adjustment layers during mask creation, it has to refresh the properties window each time which slows it down massively.

The extension is built with 3 different panels. The first one id dedicated to the luminosity masks creation. Once you have selected wich tones or color you want to select, you get a preview of the masks and it creates  three adjustment layers. A curves layer, a levels layer, and a black & white conversion layer you can adjust anyway you want.. It also provides one click actions to create all the adjustment layers, and in the last part another set of available selection tools.

The Auto Adjust panel is a very interesting one as you can work directly on Darks, Highlights ot contrast of the image by using sliders. It is a very easy and intuitive way to visualize what you are doing on the image. It is great when you begin as it it way more intuitive than using the luminosity masks that can be a little intimidating when you start..

Note that each panel provides some direct help and description of each function.

The thirs panel is for the finishing touch of your image. You have a fantastic detail extractor with a tonal range selection. Next you have some cool effects such as Soft Glow, the Orton effect and the Frequency separation very useful for both portraits and landscapes photographers.. And finally the resizing and sharpening tools, perfect for exporting to social medias.

This is the final image after 

1. Basic processing in Lightroom to get a neutral balanced image.

2. Applying  a luminosity mask to get a right midtones selection and getting a curves layer to build up the contrast.

3. Adding one more Camera Raw layer to further enhance the contrast. 

This is a very fast and easy process made even easier by creating selections using the ADP Panel from Aaron Dowling.. 

You can get the Panel by visiting Aaron’s website

Here is the image after the basic processing in Lightroom. I like to start with a neutral image that allows building up the light.

As the sky was very flat, I used a replacement sky. To place this new sky, I created a selection of the white sky, created a mak and placed the new one.  I made a mistake as themask did not cover the bottom right part and I had to fix this by painting some white on the mask to reveal the missing part of the sky.

Then I clicked on “Create mask as curves” on the panel.

The next step was to draw a S curve to get the correct luminance for the shadows and highlights.

Final thoughts

 Probably one of the best panels around.. I would say it comes on top alongside Greg Benz’s Lumenzia for both performance and price considering that once you bought it, you get unlimited free updates. I need to mention that Aaron Dowling provides an excellent support if you need. He also provides quite a lot of tutorials.

He is already announcing the version 3 of this panel and it will provide a lot of improvments both in speed and functionality. For sure a 5 stars product.

The Wonders of Plotagraph Part 2

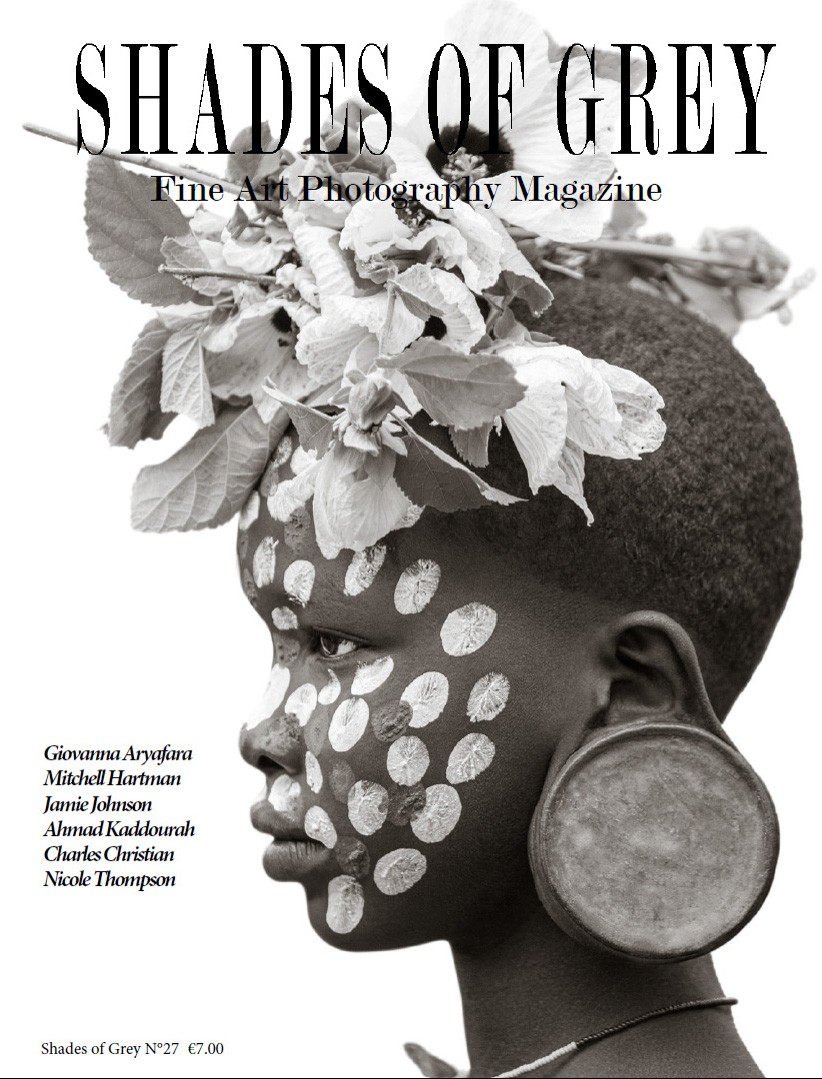
In the latest issue of Shades of Grey magazine, I tested the Plotagraph animation software. For this specific basic tutorial,  used  quite a simple image to process with only clouds and water moving.

But I wanted to challenge the software a little more by using a much more complex image, a volcano eruption with a lot of lava flowing both in the air and on the ground. By playing the video below, you will see the result is quite stunning as you can have  the exploading lava moving up and the ground lava going down.

Processing steps

Working on an image like this is quite easy with Plotagraph.

First I masked the bottom of the image with the Volcano structure to prevent it from moving.

Then I placed quite a lot of anchor poits as you can see in the image below. The anchor points are blocking the movement on the volcano top.

And at last I placed the animation points going up for the exploding lava, and going down for the ground lava.

I must mention it was done with the iPad app on an iPad Pro. I love using Plotagraph on the iPad more than using the onine app. This is because, the processing on the iPad is instantaneous and you don’t have to wait for the animation being processed on the server and rendered on your computer.


Image from unsplash.com

How to get Plotagraph

You have three choices when you sign up to Plotagraph.com.
The FREE version offers you 500Gb of cloud storage for your Plotagraphs. You can create an unlimited number of projects/animations and you have access to the Plotagraph basic tools. This is the perfect formula to start.
But as you will for sure get addicted, they offer a Pro Membership version of $19,99/month that will add all the Pro tools of the software, the HD resolution to your animations with some animation presets and effects, plus the audio, video and still overlays and1Tb of cloud storage.
And if you get really addicted and plan to use Plotagraph for your business, the Pro+ mambership of$29,99/month will let you go up to 2Tb of cloud storage, the 4K resolution and the Team collaboration tools.

Just go to https://plotagraphpro.com/buynow and sign-up.

The wonders of Plotagraph

For years now, the easiest and almost only way to create animated images was to make animated GIFs. A tedious and not so great way to do that as the results were most of the time scattered and clunky. Then came what took the strange name of “Cinemagraphs’ you could build using Photoshop’s animation tools. It was a much better way to create movement.. Now we have Plotagraph, a fast, precise and very easy to use application to animating images in a subtle and very smooth way. The major difference with the previous tools is the almost perfect looping technique. The flow is fantastic even with the most complicated structures and textures you can find.
Plotagraph Pro was at first an online app accessible via your web browser, and is now a mobile app.. There are some small differences between the web and mobile apps, but they are both incredibly fun and addictive to use.

How to get Plotagraph

You have three choices when you sign up to Plotagraph.com.
The FREE version offers you500Gb of cloud storage for your Plotagraphs. You can create an unlimited number of projects/animations and you have access to the Plotagraph basic tools. This is the perfect formula to start.
But as you will for sure get addicted, they offer a Pro Membership version of $19,99/month that will add all the Pro tools of the software, the HD resolution to your animations with some animation presets and effects, plus the audio, video and still overlays and1Tb of cloud storage.
And if you get really addicted and plan to use Plotagraph for your business, the Pro+ mambership of$29,99/month will let you go up to 2Tb of cloud storage, the 4K resolution and the Team collaboration tools.

Just go to https://plotagraphpro.com/buynow and sign-up.


Subscribe To Our Newsletter

Subscribe To Our Newsletter

Join our mailing list to receive the latest news and updates fromShades Of Grey Fine Art Photography Magazine.

You have Successfully Subscribed!

Pin It on Pinterest